So you're editing a project in Adobe Premiere Pro and need to know how to reverse a clip in Premiere Pro? Are you trying to create a time stutter in your video to add a glitch effect? Using the reverse features and time stutters in your video will create excitement and add a creative touch to any video!
With Premiere Pro, it's not as difficult as you think. We’ll show you how to do both with the simple steps below!
If you are not familiar with Adobe premiere pro, we highly recommend that you check out our online Adobe Premiere Pro courses and check out our basics of Premiere Pro guide. For a more comprehensive guide on remapping time in Premiere Pro, check out our blog post here.
Table of Contents
- How to Reverse a Clip in Adobe Premiere Pro
- How To Create a Time Stutter Effect in Adobe Premiere Pro
- Conclusion
- Learn More on Adobe Premiere Pro
How to Reverse a Clip in Adobe Premiere Pro
Reversing a clip in Adobe Premiere Pro is a simple process and can be done in just a few minutes. Follow the steps below:
Step 1: Load the video into your Timeline panel
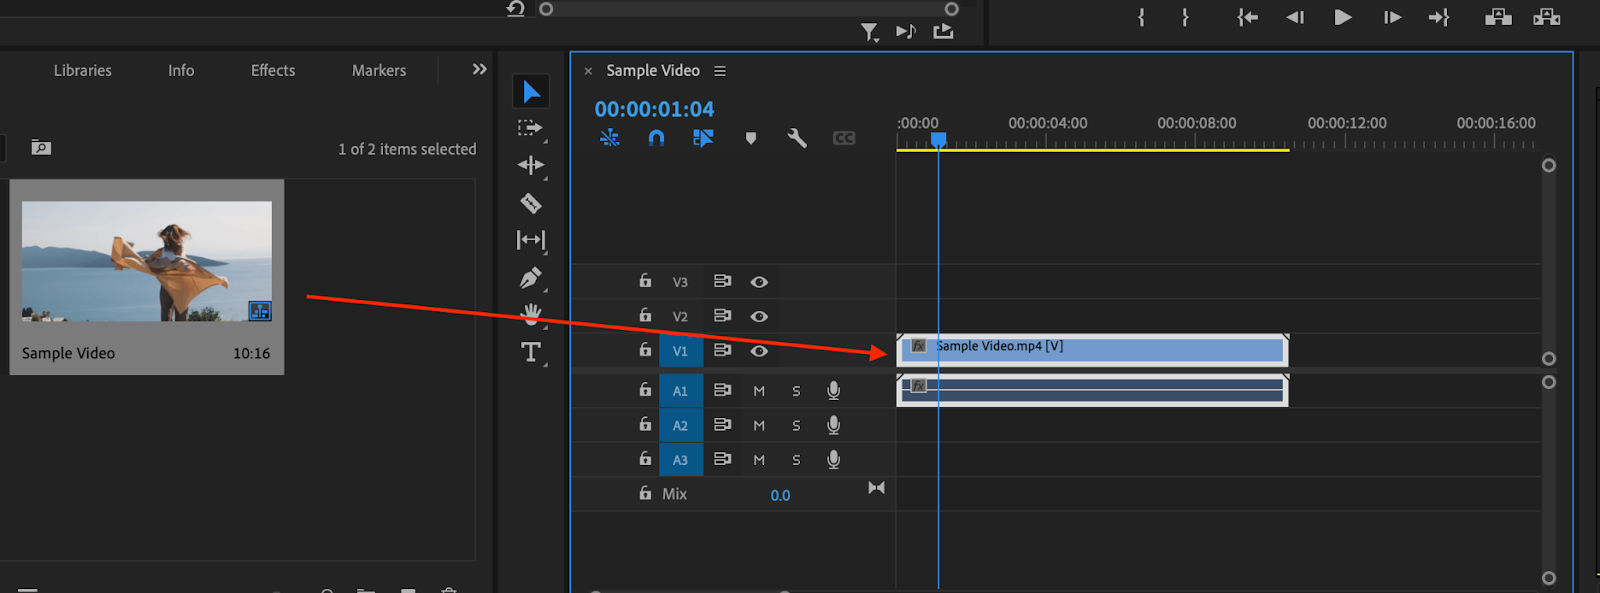
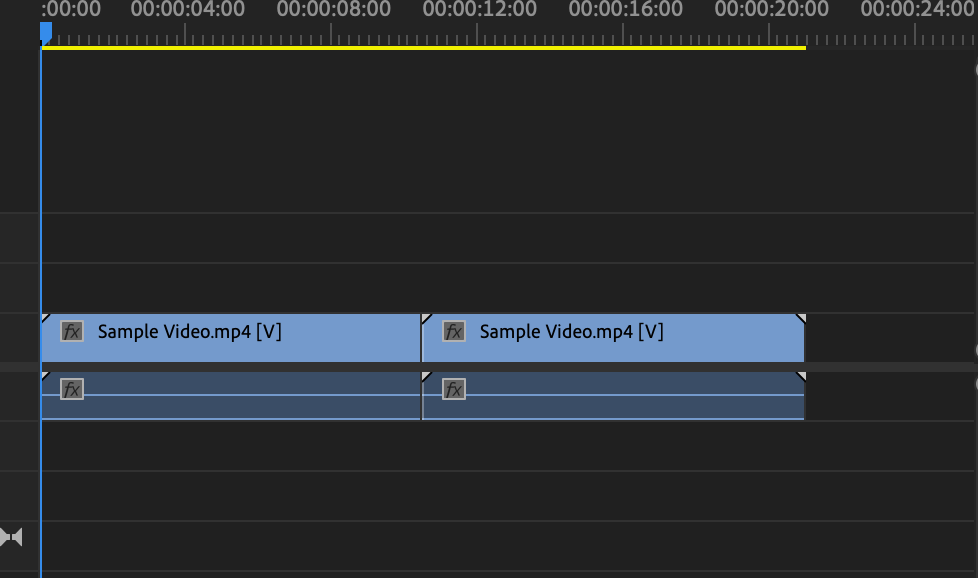
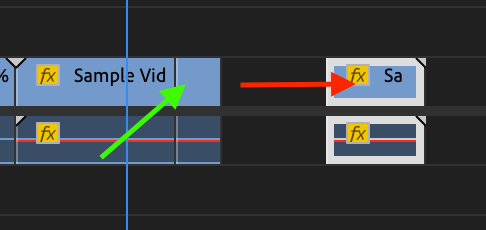
Step 2: Make a copy of the video that you want to be reversed.
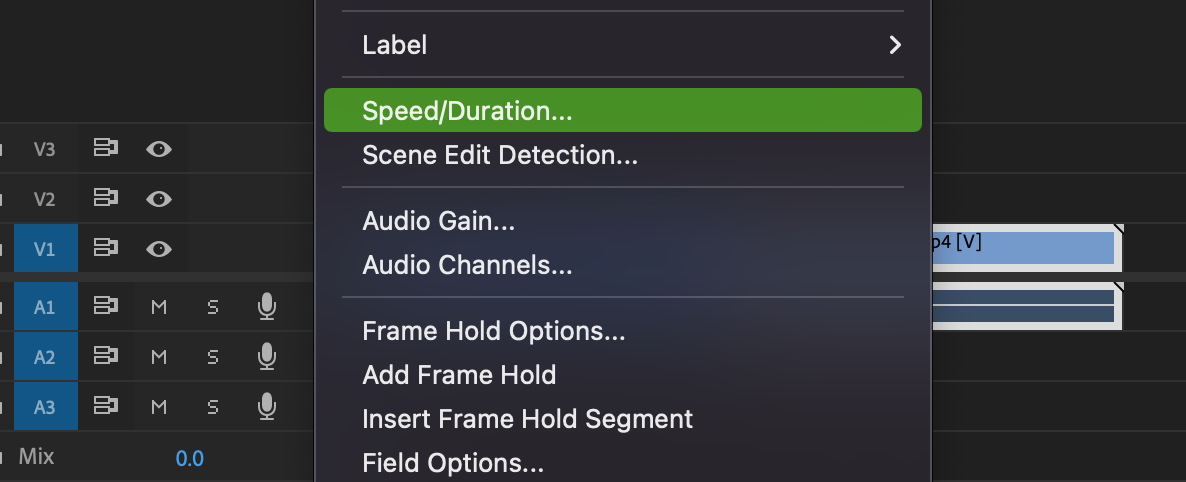
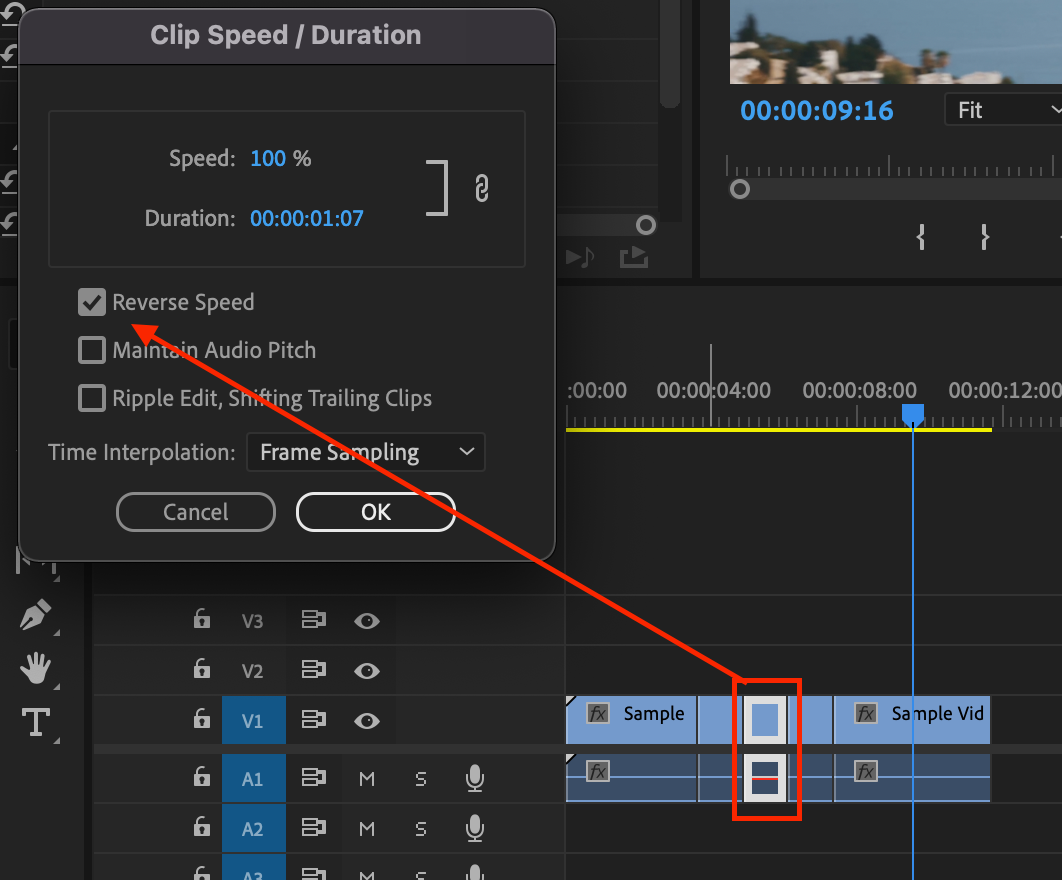
Step 3: Select the clip that you want to reverse, and find the selection Speed/Duration
Step 4: Click to select “Reverse Speed”
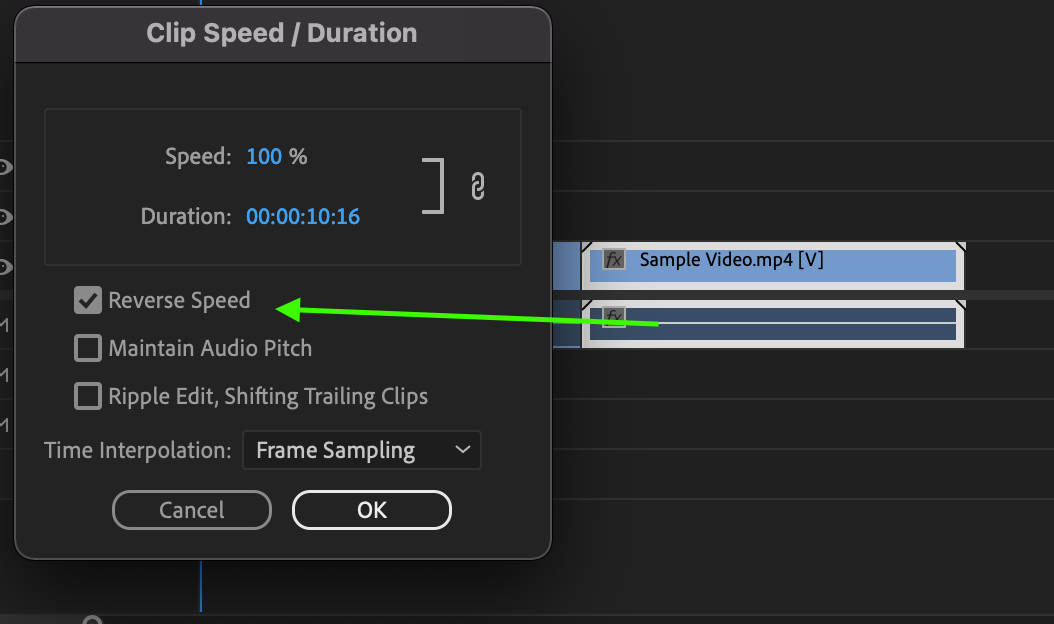
Congratulations, you have officially reversed a clip in Adobe Premiere Pro! You can see that the video has been reversed with the [-100%] that is next to the clip that has been reversed:

How To Create a Time Stutter Effect in Adobe Premiere Pro
Now that you have learned how to reverse a video, let’s learn how to create a time stutter effect in Adobe Premiere Pro.
Step 1: Find the spot that you want to create the time stutter, and press “c” to choose your razor tool.
Step 2: Press “Shift” and click where you want to create the slice.
Step 3: Move over a couple of frames, and create another cut.
Step 4: Switch to your move tool by pressing “v” and make some space on the timeline
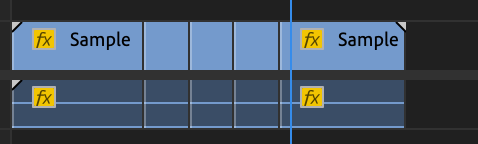
Step 5: Copy clip to be repeated 2 times so that there is a total of 3 of the same small section:
Step 6: Reverse the middle video using the steps you just learned:
That is is, now you have created a time stutter glitch effect in Adobe Premiere Pro!
Conclusion
You have officially learned how to reverse a clip, and create a time stutter glitch in Adobe Premiere Pro! By applying these two effects to your videos, you can add some creative flair, and keep your viewers interested!
Learn More on Adobe Premiere Pro
Learn Adobe Premiere Pro online with our classes designed to take make you a professional in no time!
Subscribe to our YouTube channel for more Adobe Premiere Pro tips and tricks!

_300x300.jpg "how to reverse a clip in premiere")