Do you keep forgetting to save your Adobe Premiere Pro project? Do you find it hard to find your files in the Project Panel? Where are Premiere Pro projects saved?
There are a few simple things that we can do to help organize our projects and make them more manageable. In this blog post, I will share with you five tips for organizing your Premiere Pro project.
Table Of Contents
- Set your projects to autosave
- Use folders to organize your files
- Color Code Label your Files
- Add metadata to keep track of what's in each file.
- Use the Media Browser
- Conclusion
Set your projects to autosave
If you are anything like me, I tend to forget to press that "Save" button, and I usually end up hating myself for it. The power may go out, your computer may crash, Premiere Pro may become unresponsive, just to name a few potential issues that may arise.
Autosaving may seem mundane, but autosaving has saved me hours upon hours of potential double work time.
Setting Adobe Premiere Pro to autosave can save you a world of disappointment (and time) in the long run!
To set your projects to autosave:
Windows:
Edit > Preferences > General
Mac:
Premiere Pro > Preferences > General
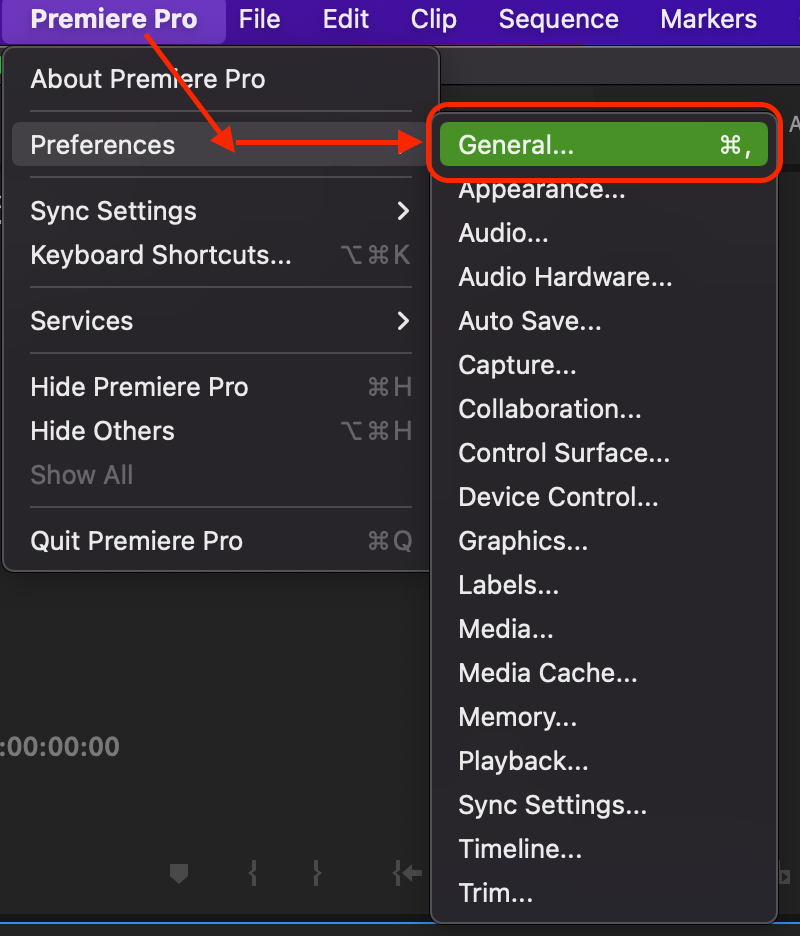
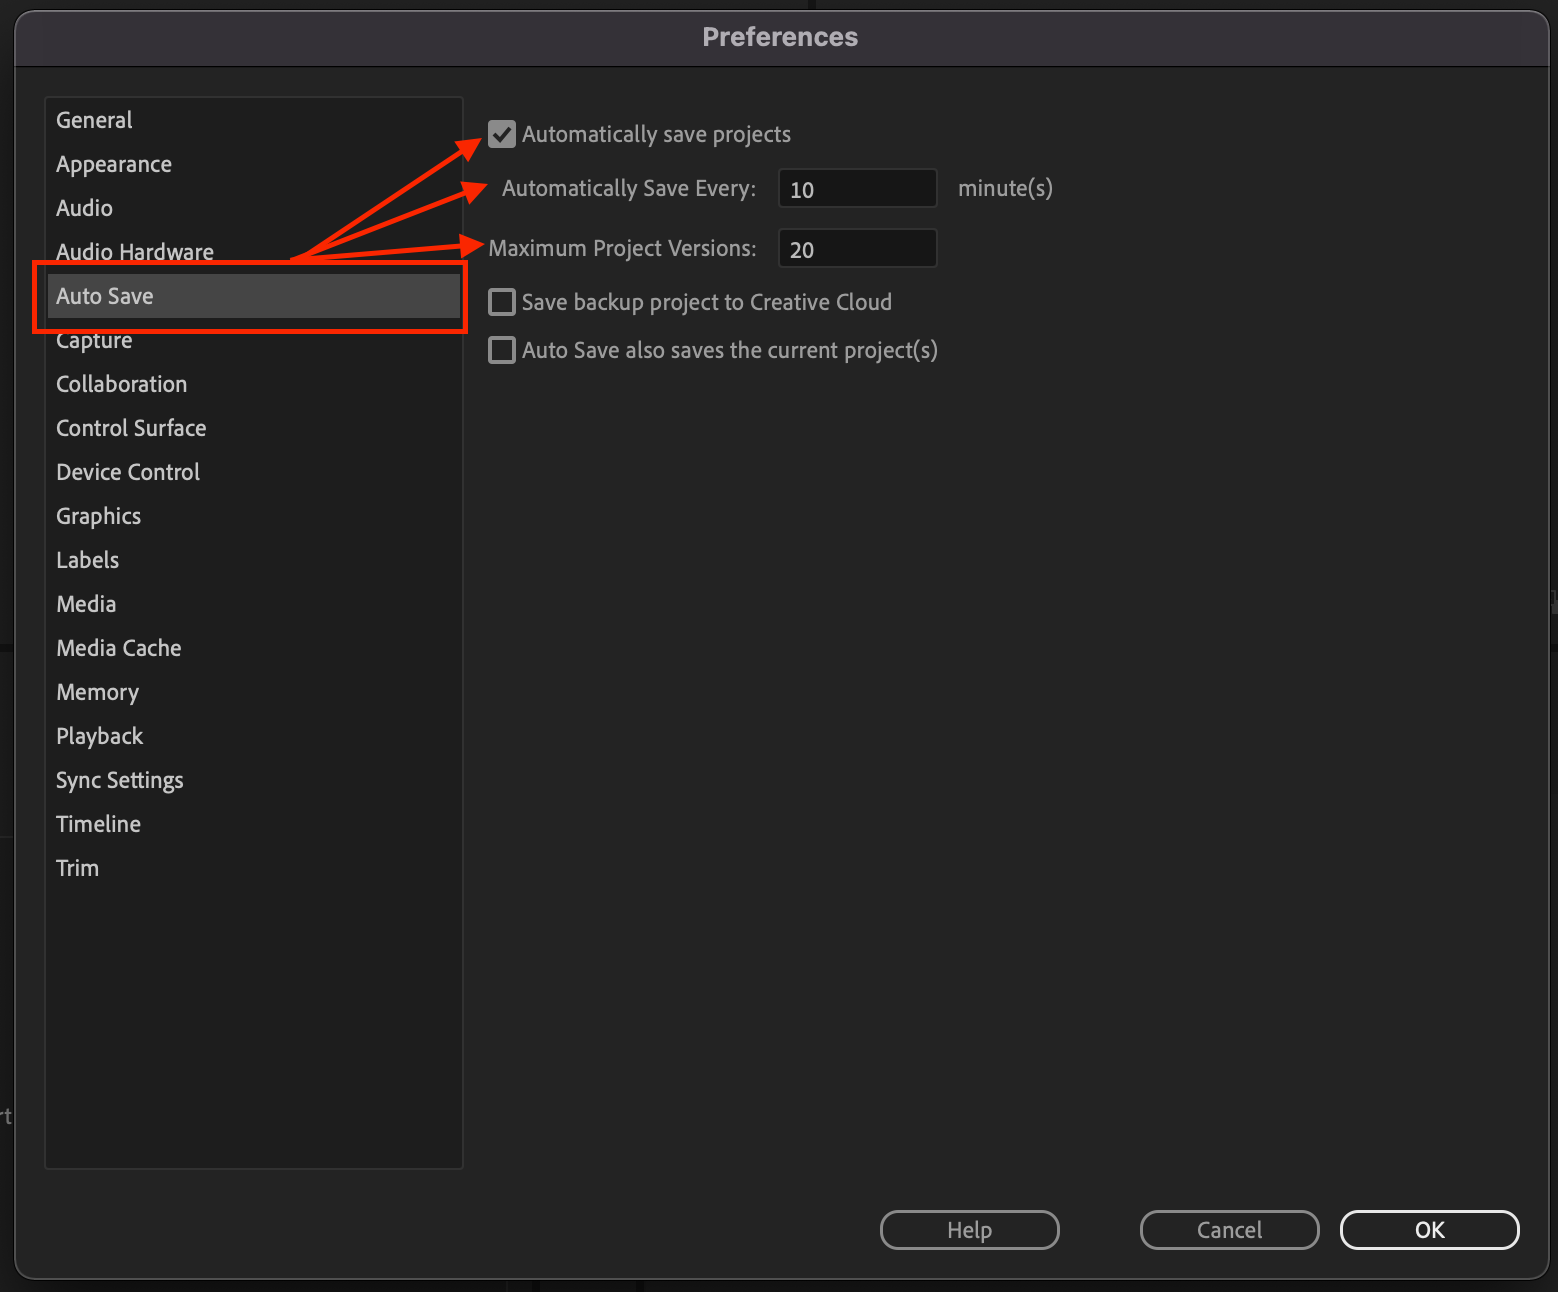
After the Settings box opens, select “AutoSave” on the left side.
- Be sure to check “Automatically Save Projects.”
- Set “Automatically Save Every “X” Minutes. We like 10-15 minutes, but that is up to your preference.
- “Maximum Project Versions” is good to leave decently high to allow for multiple backups, but remember that each version will take up extra storage.
- Press “OK” to save the Autosave settings.
Use folders to organize your files
Using folders and folder structure is probably one of the most helpful tips on this list. Using folders to organize your files can save you a lot of time finding what file is where.
You can create folders in projects in a few different ways:
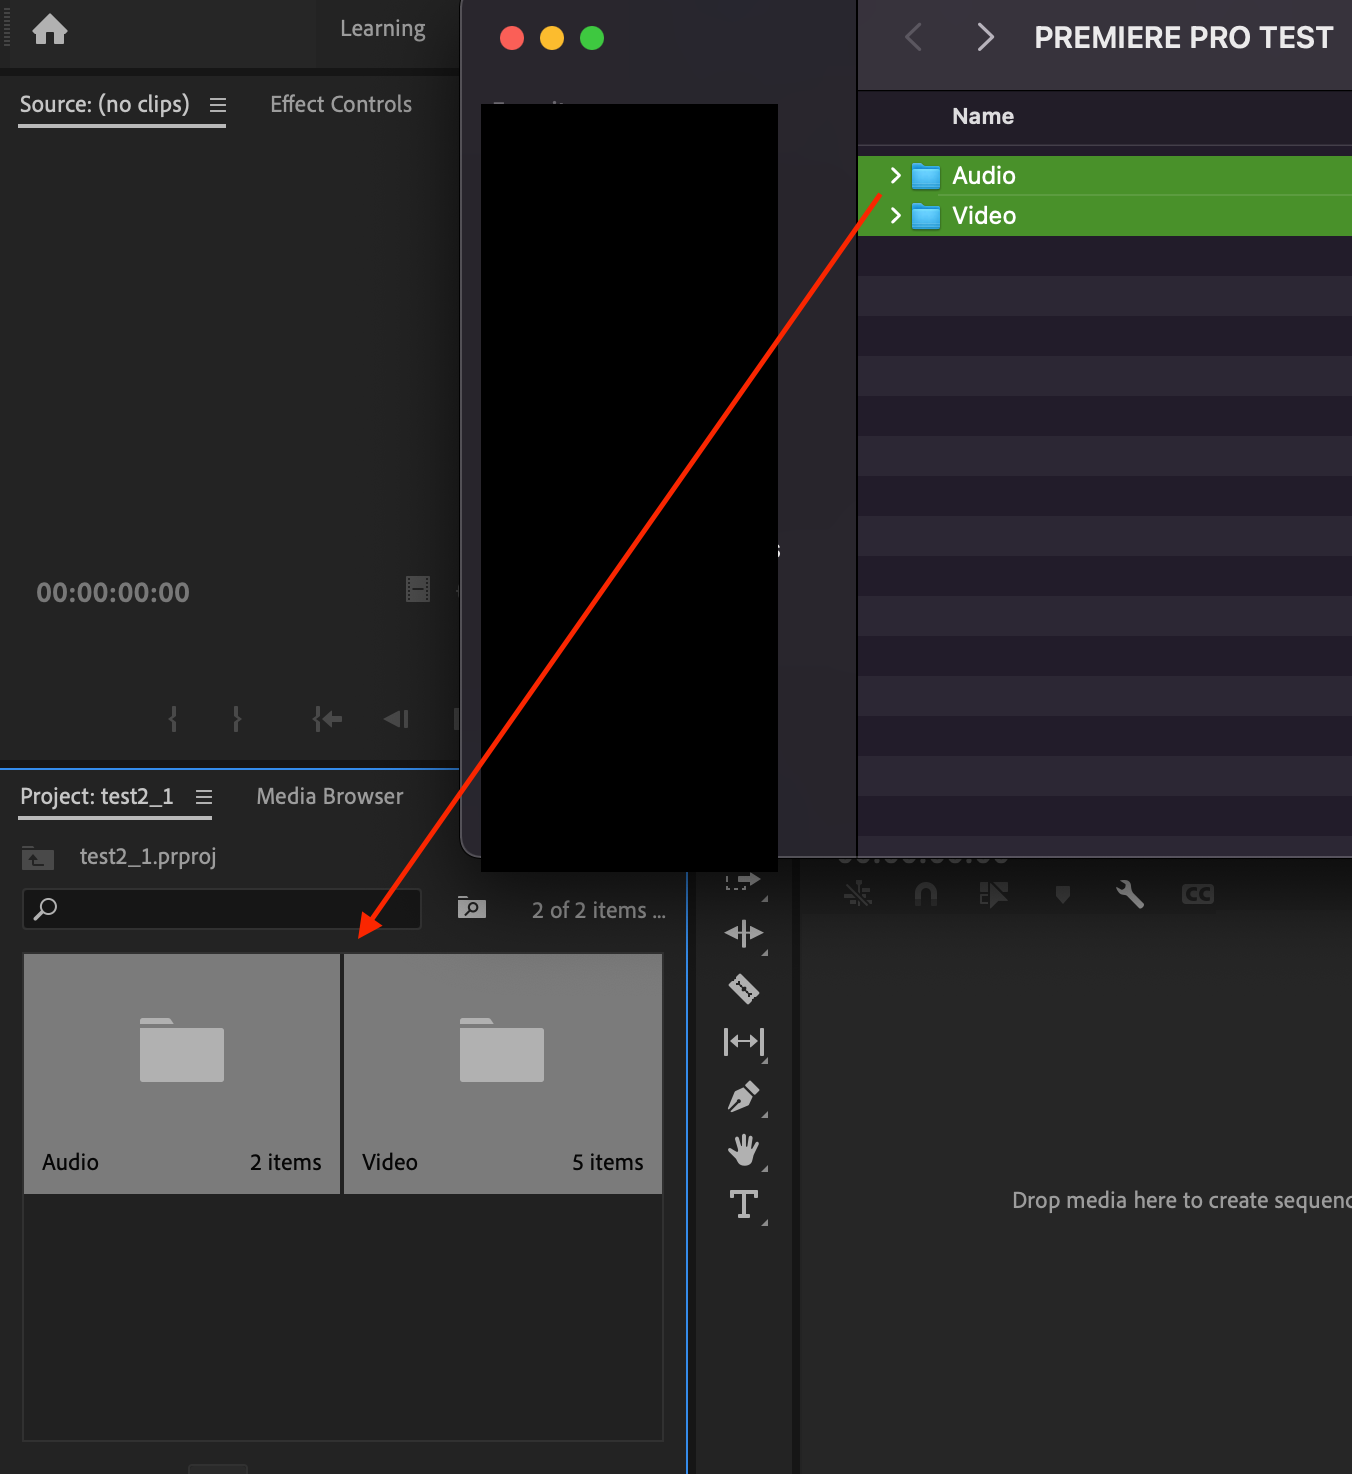
The best way to develop multiple organizing folders in a project is to make the folders with files already in them on your computer. From there, simply drag and drop those folders into the Project panel.
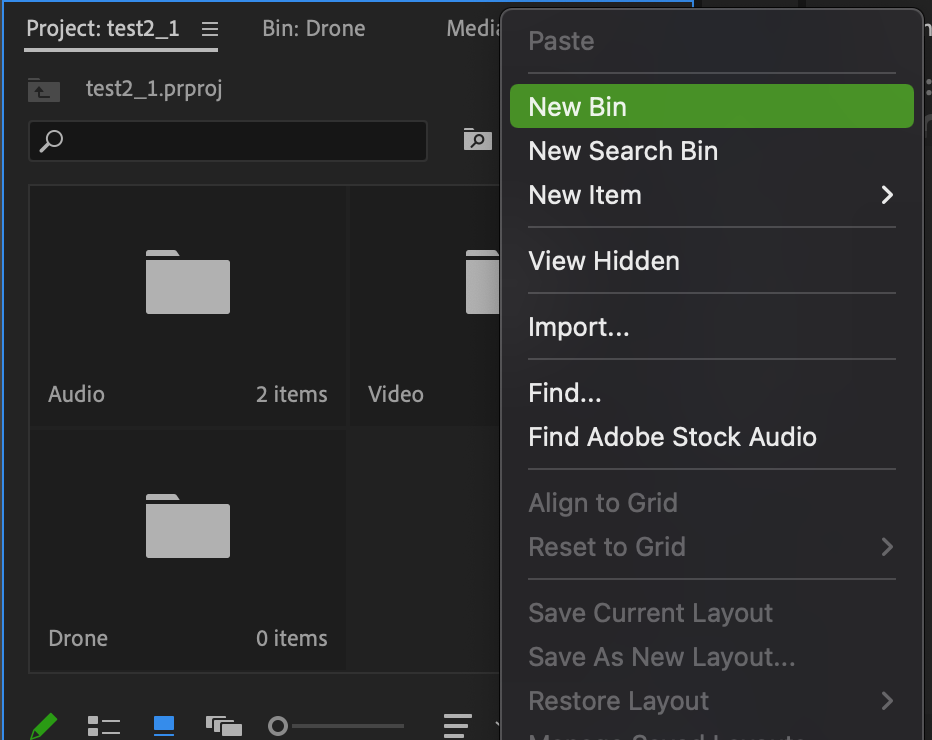
If you already have the files in the Project panel, merely create a new folder within the project by right-clicking in the Project panel and selecting “New Bin.”
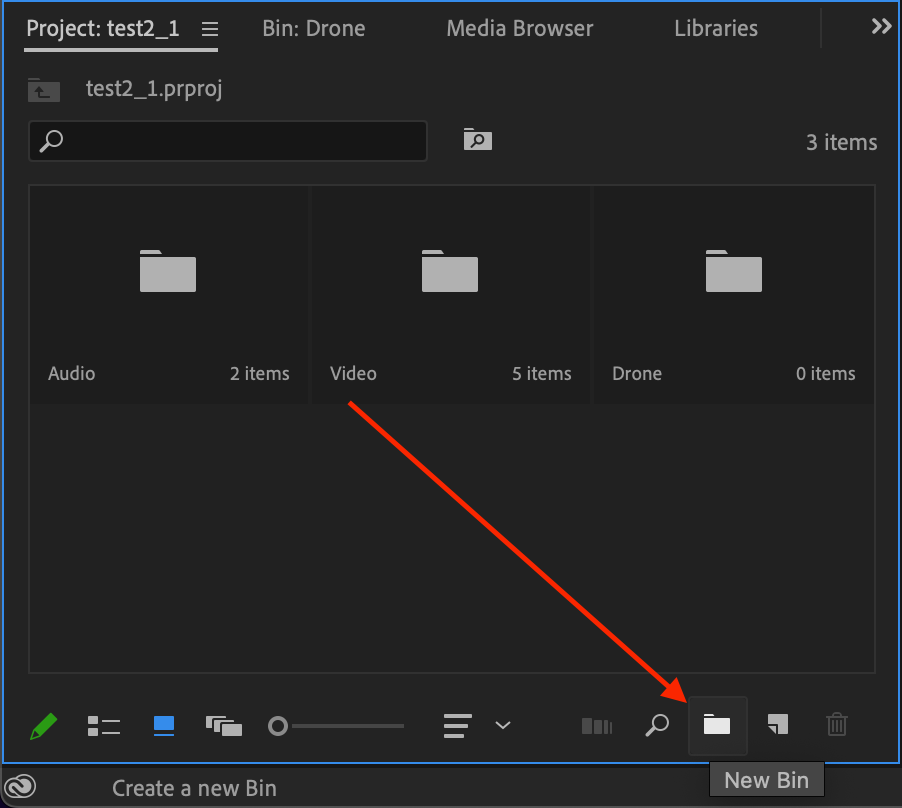
Alternatively, you can press the “New Bin” button at the bottom right corner of the project panel.
Creating folders, or bins, inside the project can potentially save you hours and hours of trying to find where files are.
Color Code Label your Files
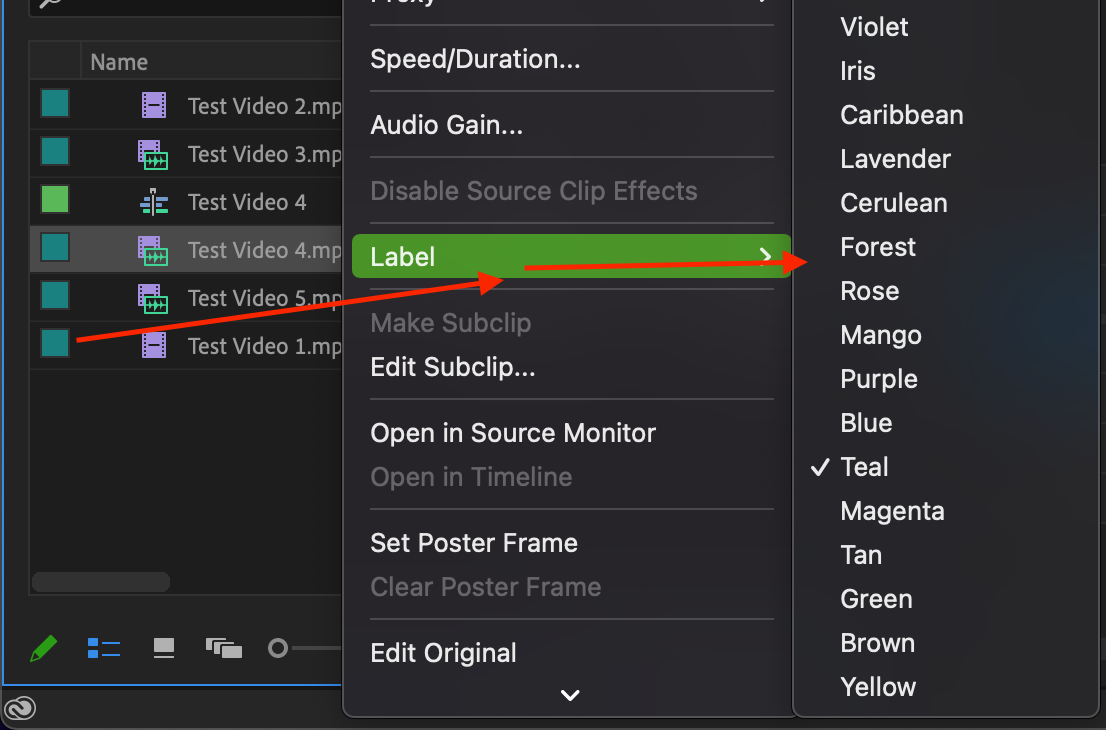
One way to organize your files is by color-coding them. You can add a colored label in Premiere Pro that will help you quickly identify the contents of specific clips or sequences without clicking on them and opening them or viewing them.
To do this, simply right-click on any file within your project panel and select "Labels.” After that, choose the color label you want for the file.
Add metadata to keep track of what's in each file.
Metadata is data about your files/clips that allow you to store information, such as file type, notes, etc., in the actual file itself instead of within a spreadsheet or some other document outside of Premiere Pro.
Adding this info also makes it easier to find information for each clip at a later date with a simple keyword search.
To open the metadata panel, select "Window" in the top menu:

Selecting this “Metadata” selection will open the Metadata Panel.
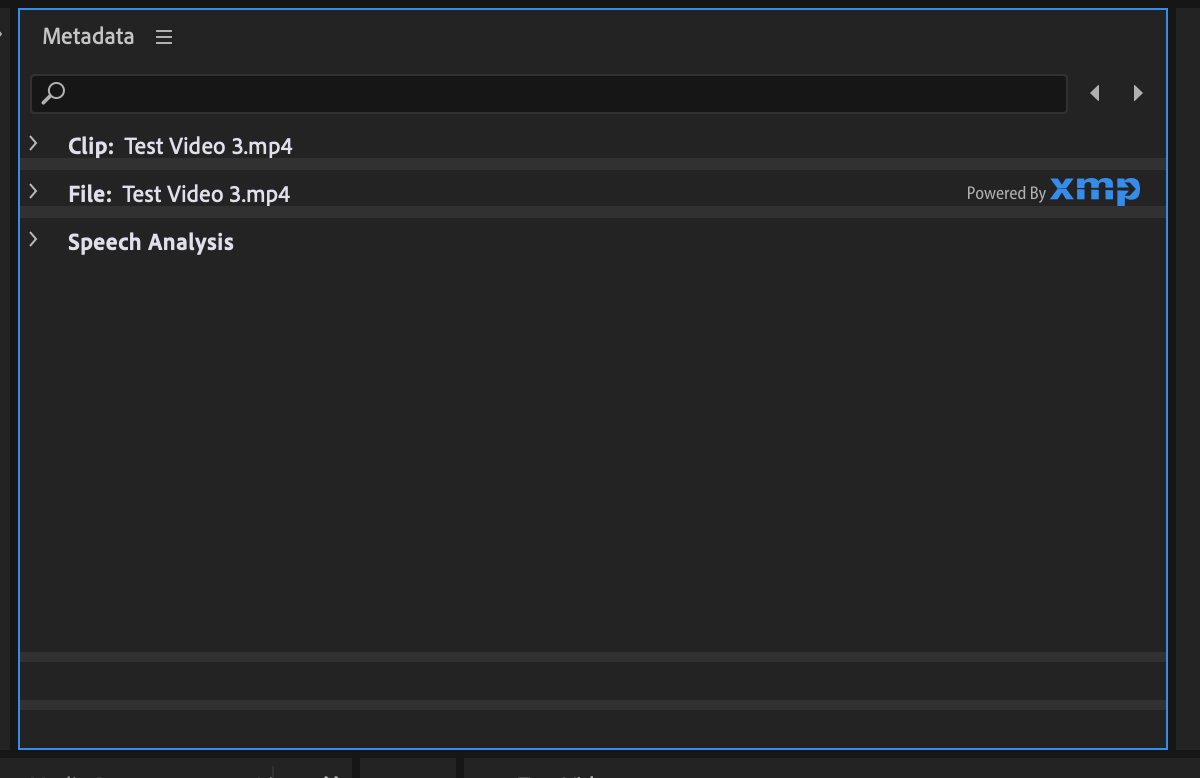
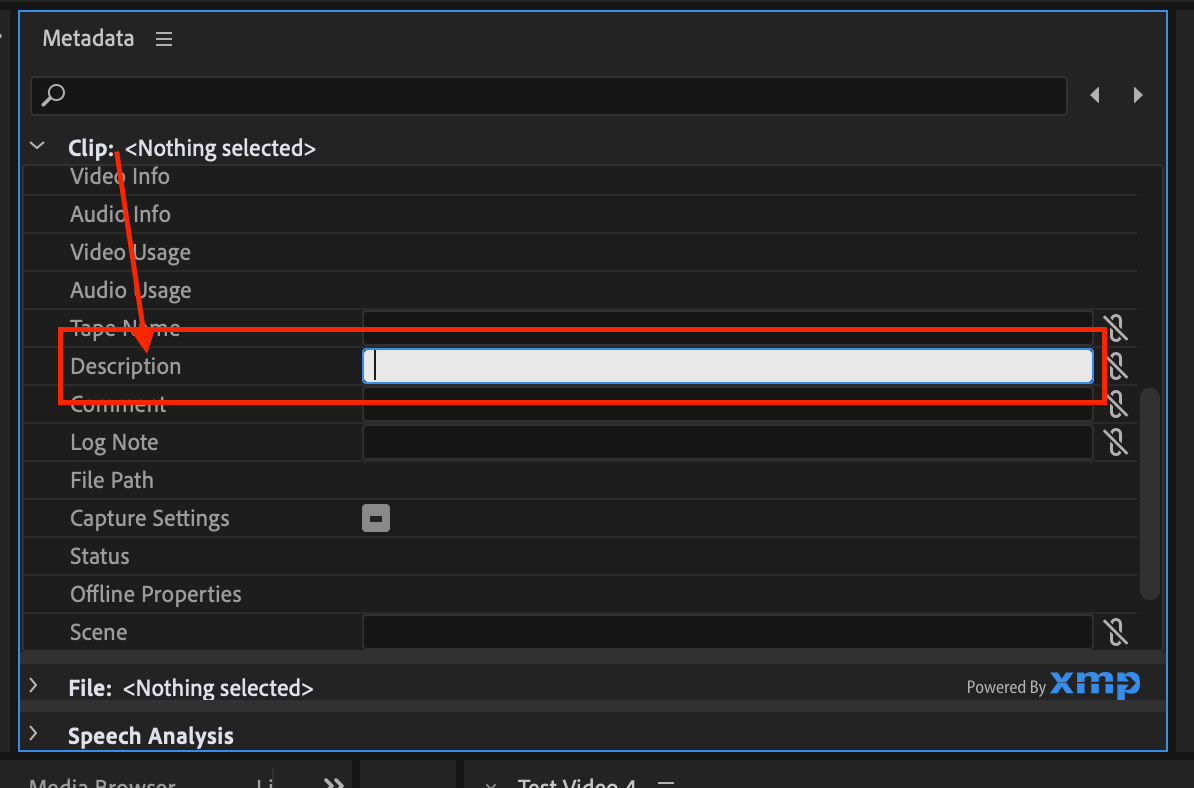
Adding text to the “Clip” section will save the description to only the Premiere Pro project files.
Adding data to the “File” tab will save the data to the source file and open that same data in all applications that you use this video file with.
Using Media Browser in Adobe Premiere Pro
Use the Media Browser to find media quickly and easily, without opening every single file individually.
In your project panel of Premiere Pro, you will find a tab labeled "Media Browser:”
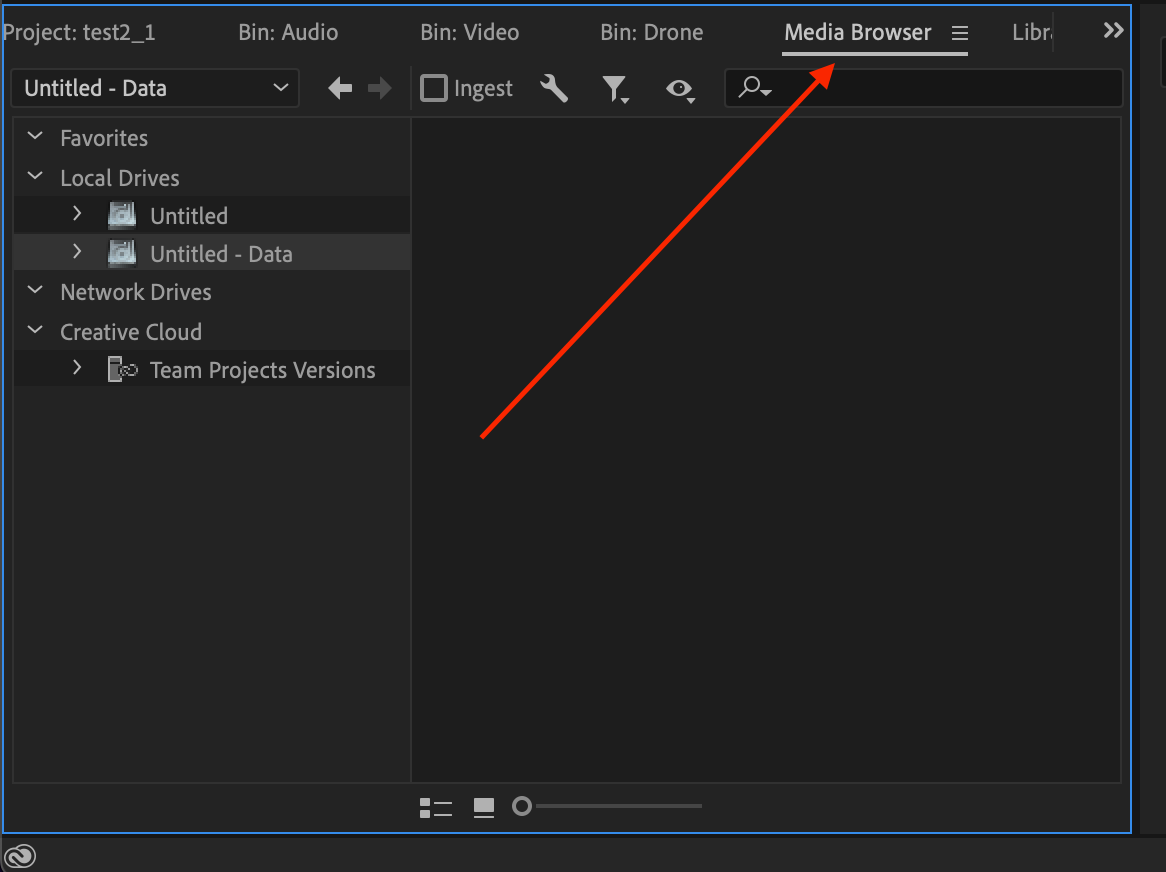
The Media Browser will allow you to use files directly on your computer without having to upload them to Premiere Pro.
Importing the files once you find the one you want is as simple as right-clicking and pressing “Import.”
Keep it organized!
Organizing a Premiere Pro project can seem tedious and time-consuming, but it will save you hours of headache in the future as a video editor.
Be sure to use these tips as well as any other organizational skills that work for you!
Learn More
We offer Online Adobe Premiere Pro Classes to anyone looking to further their education and prepare themselves for a job in the digital world!
Already a Premiere Pro user? Get your Adobe Premiere Pro Certification!
For more tips and tricks, see more blog posts or check out our YouTube channel.
If you want to connect with other Adobe Premiere Pro learners & teachers, join our Facebook community!

_300x300.jpg "how to organize clips in premiere pro")