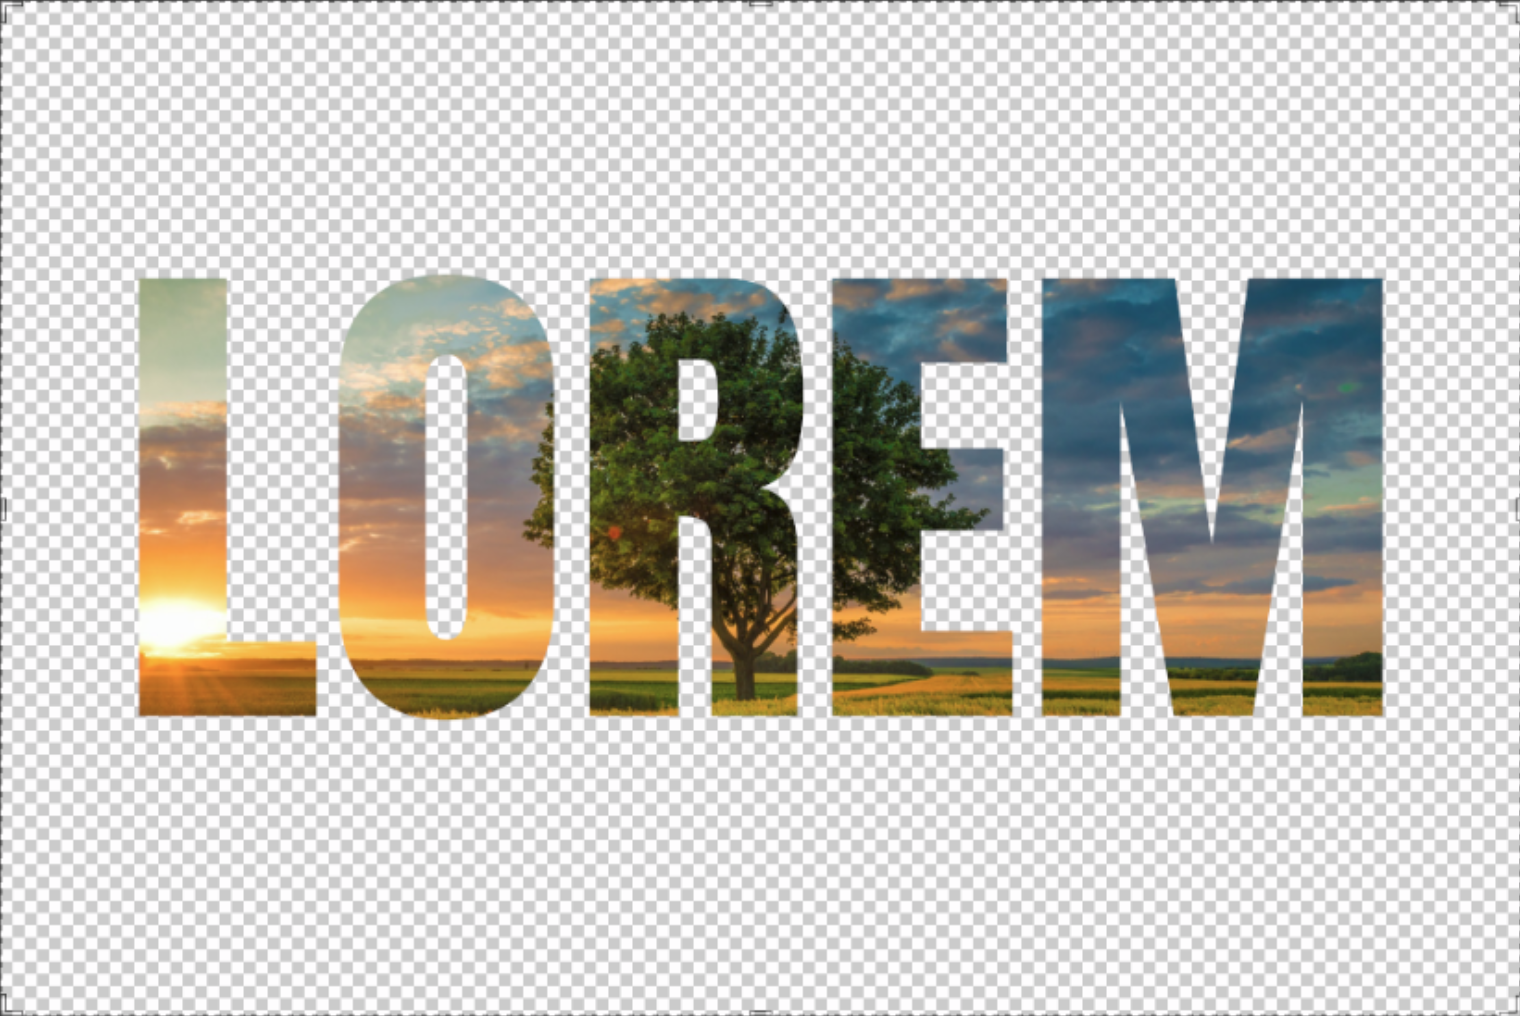
Well, I don't know about you, but I'm always looking for ways to make my designs stand out. By adding an image in text Photoshop, you can bring a creative edge to your design that will make it pop!
It is an advanced technique that allows you to create visually attractive pages.Several designers use the image-in-text technique to stand out from their competitors by providing a unique design.
People are used to seeing images on a white or colored background.
These conventional designs don't offer anything new and, therefore, they are not as attractive as they could be.
The application of this method can be seen in many magazines, advertisements, and websites where the visual impact is the main aspect.
- If you're a photographer, you can use this technique to create a logo for your photography business or even a banner for your website.
- If you're designing for print, the options are endless — you could design a magazine cover with an eye-catching headline or add quirky images to a poster or flyer.
That's why this tutorial will show you how to add an image in text Photoshop in a step-by-step manner.

Table of Contents
How to Fill Text With an Image in Photoshop:
A step by step guide
Step 1: Upload a high-quality image
First, make sure you have an appropriate photo to use.
You can find royalty-free images online, but make sure it's of super high quality.
Step 2: Type out the text
You'll first need to type out the word or phrase you want to use.
Select the Type Tool from the Tools Panel, or press the letter T on your keyboard to quickly select it with the shortcut.
Then click somewhere in your document and begin typing out your text.
If a font is already selected in the Options Bar, you are able to change it by selecting another font from the drop-down menu.
However, if you want the image in text Photoshop to look more professional, I suggest you use a font that's bold and 'chunky.'
Also, make sure the text is centered.
Step 3: Create a new layer
To start, create a new layer by clicking the "Create New Layer" button.
In the dialog box, click on the name of the thumbnail that appears under New Layer and type in a name for your new layer.
You should now have three layers. We'll use these three layers to achieve our final result, so don't delete any of them!
Then move the image so it is on top of all other layers, and then move the new layer you created below all other layers.
So, it should look something like this
- top layer: the image
- middle layer: the text
- the third layer: the new layer you just created
It is important that the text layer is in the middle of the other two.
Step 4: Create Clipping Mask
Now, select the image layer and go up to Layer -> Create Clipping Mask (Command + Option + G on Mac/Control + Alt + G on Windows).
This will attach your image as a clipping mask to your text layer, which means that whatever is inside of your text layer will only be visible within that area.
Step 5: Fill the background-color
This is the last step in learning how to put an image in text Photoshop.
Now choose the background layer you created and select Edit->Fill ->Color -> OK.
Next, select White or the color of your choice.
To do that, go over to your color picker and select the background color of your page, but I'm just using white for this example.
After clicking OK will be left with something like this.
And here you go, now you know how to put an image in text Photoshop.
And here you go, now you have put an image inside a text!
Conclusion:
The use of images in your text is an easy and creative way to illustrate parts of your idea or simply animate your writing.
We hope you now understand how to add an image in text Photoshop.
The process will remain the same whether you're making a signature, a book cover, or just want to show off your photo editing skills.
We encourage you to surprise us with your work!
Keep up with our Photoshop blogs to know all the tips and tricks to become a proficient photoshop user in no time.
If you prefer the one-on-one learning, check out our live, online classes. They have the ideal combination of instructor-led demonstration and hands-on practice.
Adobe Photoshop Certifications & Prep Courses
Are you looking to get Adobe Certified?
FMC Training is the leading provider of Adobe certification exams. We’ve helped thousands of people just like you pass their certification exam and land that dream job. Our training material is written and recorded by industry experts who know what it takes to succeed in today's competitive market.
Join our ever-growing Facebook group and ask any Photoshop questions you might have!

_300x300.jpg)
